Two freebies in one week, I know. Looking forward to 2010, I hope to offer more of these on a regular basis. But if you’re looking for a last minute gift idea, this one in particular may help you out.
This year I was looking for a simple but fun gift I could make for several people, so I decided to try out the hot chocolate recipes that Maddy of Inspired Bride came up with (check out part 1 here and part 2 here), with a few adjustments. Since I was making them for holiday gifts rather than favors, I decided to make larger batches, using larger glass jars as the containers.
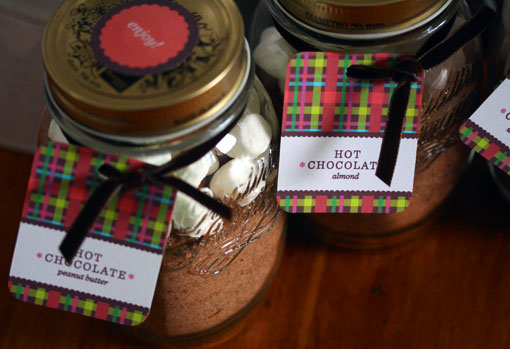
For each jar, I doubled the base recipe and mix-ins. I wanted to create a variety of flavors, so I used most of Maddy’s specialty recipes, and also added two of my own—white chocolate and peanut butter. Yum. This left a bit of room in each jar so I added a handful of mini marshmallows—which go with any flavor in my opinion—to each batch.
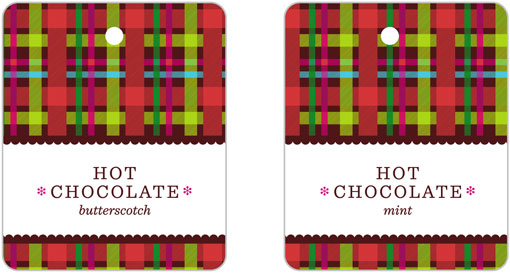
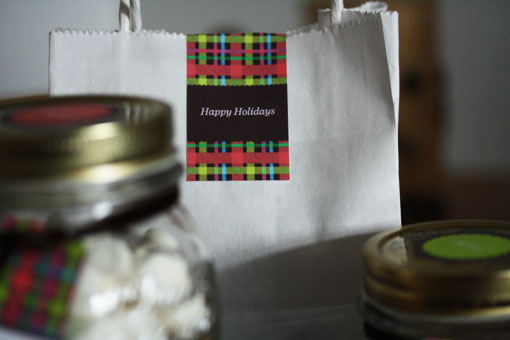
I’ve created tags for six flavors in total: mint, almond, double chocolate, butterscotch, peanut butter and white chocolate, all of which you can find on the template I’ve created. Plus additional labels for the tops of each jar and a bag closure. See below for the instructions and downloads.

Get 300+ Fonts for FREE
Enter your email to download our 100% free "Font Lover's Bundle". For commercial & personal use. No royalties. No fees. No attribution. 100% free to use anywhere.
MATERIALS
- Cardstock
- Label Paper (I use the full 8.5×11 sheets found at Staples)
- Standard hole punch
- 1.5 inch circle punch
- Velvet Ribbon, 1/2 yard per jar (I found mine at MJ Trim)
- Round corner punch
- Tag Templates (see below)
- Gift bags
DIRECTIONS
- Prepare hot chocolate recipe based on instructions found here and distribute into individual jars.
- Add a layer of mini marshmallows to top it off.
- Print out hang tags and labels and trim to size. You can print these double-sided (directions go on the back) but I simply printed the backs on label stock and attached them to each front.
- Round the corners, and punch the hole for each tag.
- Print circle labels and trim to size using the 1.5 inch punch.
- Cut separate lengths of velvet ribbon, 1/2 yard per jar.
- Place each jar in a gift bag and close with label.
TEMPLATE DOWNLOADS
Hang Tags: Front
Hang Tags: Back
Circle Labels
Bag Closure Label
Enjoy! And thanks Maddy for the inspiration and delicious recipes!
*all design work life downloads fall under the Creative Commons Attribution Non-Commercial license